Unleash Your Vision in Creative Portrait Photography
Move beyond standard headshots and discover how to blend artistic concepts with technical skill to create portraits that tell a story and resonate with viewers.
Creative portrait photography is where we move beyond just taking a picture of someone. It’s the art of crafting an image that reveals a story, a specific mood, or a slice of their personality—all within a single, deliberate frame. This is where artistic vision and technical skill collide to create something that does more than just document a face; it communicates an idea.
So, What Really Makes a Portrait "Creative"?
At its heart, this kind of portraiture is all about intent. Every single choice—from the way light falls on a subject's face to the composition and direction—is made to evoke a specific feeling or tell a particular story.
A standard portrait often aims for a clean, flattering, and accurate representation. A creative portrait, on the other hand, prioritizes emotional impact and artistic expression.
This means your work starts long before you even pick up the camera. It might begin with an abstract spark of an idea—a feeling you got from a song, a compelling scene from a film, or even just a unique color palette. The real craft is in translating that spark into a solid plan for a photoshoot.
The Four Pillars of Creative Expression
To consistently produce strong work, you have to master a few core elements that work together to bring your vision to life. Get these right, and you're well on your way.
- A Powerful Concept: This is your foundation, the "why" behind the shoot. It's the central idea or narrative that informs every other decision you make, from wardrobe choices to the final location.
- Intentional Lighting: Light is your primary tool for sculpting your subject and setting the mood. It can create high drama, dreamy softness, or a sense of mystery. Never underestimate its power.
- Authentic Direction: Your ability to connect with your subject is what turns a static pose into a moment of genuine emotion. This is how you avoid stiff, unnatural-looking images.
- Artistic Post-Processing: Editing is far more than just fixing mistakes. It’s the final stage where you polish the mood, amplify the story, and cement your signature style.
This simple flow chart really breaks down how these pieces fit together.
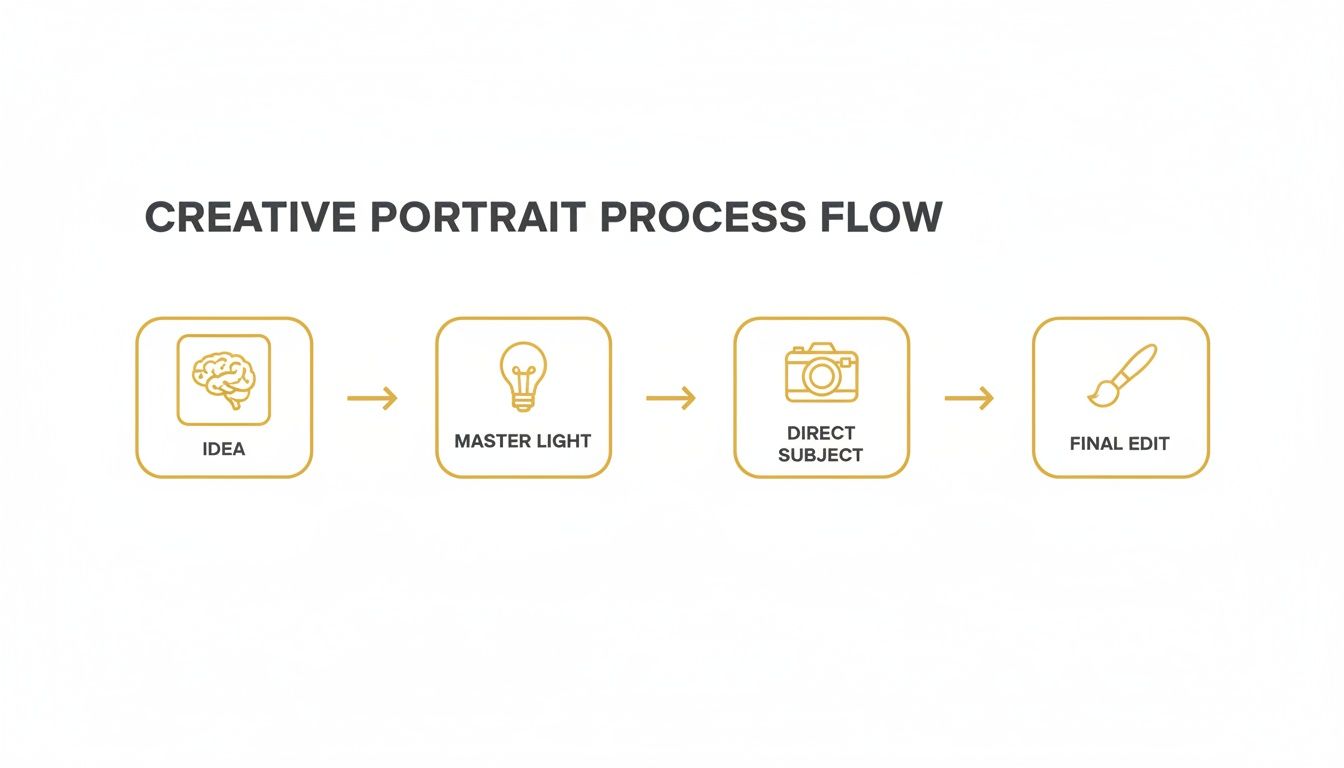
As you can see, each step naturally builds on the one before it. This is the process that transforms a fleeting thought into a polished, powerful final image.
Developing Your Unique Photographic Concept
Every truly memorable portrait starts long before you pick up a camera. It begins with an idea—a clear, compelling concept that guides every decision you make. This is where you transform a feeling into a tangible plan, ensuring every prop, pose, and light has a purpose. Without a solid concept, your creative portraits risk feeling generic or directionless.
This kind of conceptual work isn't just for fine art projects; it's a huge part of the professional world. The global market for portraiture is a staggering $20.6 billion, and a huge slice of that comes from personal branding, editorials, and influencer content. In these crowded spaces, a unique concept is what makes an image stand out. If you want to learn more about the photography market's scale, you'll see how strong concepts drive commercial success.
Think of it this way: you're not just taking a picture of a person. You're building a world for them to inhabit, even if just for a moment. That's the difference between a simple headshot and an image that tells a story.
![]()
Finding Inspiration Beyond Photography
If you want a unique style, you have to stop looking at what other photographers are doing. Constantly scrolling through Instagram is a recipe for creating derivative work. To cultivate a truly distinct voice, draw inspiration from a wider well.
Here are a few places I always turn to:
- Cinema: I'll often pause a film and just study a single frame. How did the director of photography use light? How does the color grade make me feel? An entire shoot can spring from that one moment.
- Classic Paintings: Go to a museum or look up the work of masters like Rembrandt or Caravaggio. Pay attention to how they used light and shadow (chiaroscuro) to carve out a subject’s face and convey deep emotion. Those techniques are just as powerful today.
- Literature or Music: Sometimes a single line from a song or a poem is all it takes. The real creative challenge is figuring out how to translate an abstract feeling into a visual story.
A great concept acts as your creative compass. When you're on set and struggling with a decision about lighting, posing, or wardrobe, just ask yourself: "Does this support my core idea?" If the answer is no, you know it's time to pivot.
Building an Effective Mood Board
Once that initial spark of an idea hits, a mood board is how you make it real. This isn't just about pinning pretty pictures on Pinterest. A mood board is a visual blueprint that communicates your entire vision to your team, your model, and even yourself.
A really effective mood board should nail down these key elements:
- Color Palette: Are you going for something warm and nostalgic, or cool and clinical? The colors you choose will dictate everything from wardrobe to location and post-processing.
- Lighting Style: Collect examples of the exact light you want. Are you after the dramatic, hard shadows of film noir or the soft, ethereal glow of a pre-dawn morning? Be specific.
- Posing and Emotion: Find reference images that capture the precise expressions and body language you're aiming for. This gives your subject a clear direction instead of just saying "look pensive."
- Wardrobe and Props: Define the styling down to the details. Is it modern and minimalist, or vintage and theatrical? Make sure every prop adds to the narrative instead of just cluttering the frame.
Mastering Light and Composition for Impact
With a solid concept in hand, it's time to translate that vision into reality. This is where your mastery of light and composition comes into play. These aren't just technical checkboxes for a well-exposed or balanced photo; in creative portraiture, they are the very language you use to tell the story. Every shadow, highlight, and framing choice must serve the central idea.
Light is the engine of emotion in a photograph. It’s tempting to fall back on a standard three-point setup, but creative work demands more. Think critically about what kind of light will best communicate the intended mood. Is your concept built around strength and drama? A single, hard light source will carve out sharp, defined shadows that scream intensity. If the feeling is more introspective and soft, then diffused light from a large source—like a big softbox or a north-facing window—will wrap your subject in gentle, flattering tones.
And don't forget about color. Colored gels are an incredible tool for shifting the emotional register of an image. A touch of blue can introduce a sense of melancholy or tranquility, while a warm orange or red can inject energy, passion, or nostalgia. The key, as always, is to be intentional. The color should feel like a part of the story, not just a flashy afterthought.
Beyond the Rule of Thirds
Composition is all about guiding the viewer's eye and controlling the story's flow. Sure, the rule of thirds is a decent starting point, but truly creative work often happens when you intentionally break that rule. Pushing beyond the basics can add incredible depth and meaning to your portraits.
Try thinking about composition in these terms:
- Leading Lines: Look for elements in the environment that can act as arrows pointing to your subject. A winding road, the edge of a building, or even a staircase can create a powerful and direct path for the viewer's eye.
- Negative Space: Don't be afraid to embrace the emptiness. Surrounding your subject with a vast, uncluttered area can evoke a powerful sense of isolation, peace, or immense scale. It gives your subject—and the story—room to breathe.
- Unconventional Framing: Use elements within the scene to create a natural frame. Shooting through a doorway, a window, or even a gap in some foliage adds layers to the image and can create a compelling sense of intimacy or even voyeurism.
The most impactful creative portraits are those where every technical decision feels deliberate. The choice of a wide-angle lens to distort perspective or a low camera angle to empower the subject isn't random—it's a calculated move to amplify the core concept.
Creative Lighting Technique Comparison
Different lighting setups can dramatically alter the mood of a portrait. The table below breaks down a few classic techniques and the emotional impact they typically deliver, helping you choose the right approach for your concept.
| Lighting Technique | Key Characteristics | Emotional Impact | Best Use Case |
|---|---|---|---|
| Rembrandt Lighting | Creates a small triangle of light on the shadowed cheek. | Dramatic, moody, contemplative | Character portraits, fine art, storytelling with depth |
| Butterfly Lighting | Light source is high and centered, creating a butterfly-shaped shadow under the nose. | Glamorous, flattering, elegant | Beauty, fashion, and classic Hollywood-style portraits |
| Split Lighting | Lights exactly half of the subject's face, leaving the other half in shadow. | Intense, dramatic, mysterious | Creating high-contrast, bold images; emphasizing texture |
| Soft, Diffused Light | Even, gentle light from a large source (e.g., softbox, overcast day). | Soft, gentle, approachable, serene | Natural-looking portraits, beauty, capturing vulnerability |
Choosing the right technique is about matching the quality of light to the emotion you want to convey. A dramatic, split-lit portrait will tell a very different story than one shot in soft, diffused window light.
Making Deliberate Technical Choices
Finally, your gear choices are part of the creative toolkit. An 85mm lens shot at a wide aperture creates that beautifully shallow depth of field, instantly isolating your subject for a dreamy, focused look. On the other hand, a wider 35mm lens pulls more of the environment into the frame, making the location a character in its own right. If you want to see how different photographers blend these elements, you can find some fantastic portrait photo ideas that show these principles in action.
Think, too, about how your camera angle changes everything. Shooting from below can make a subject feel dominant and larger-than-life, while a higher angle can suggest vulnerability or a sense of being small in a large world. These aren't just technical settings; they are narrative decisions that must align with the emotional tone you're building. When you consciously connect your technical execution to your creative vision, you stop just taking pictures and start crafting compelling, memorable art.
Directing Subjects for Authentic Emotion
Let's be honest: a brilliant concept with perfect lighting means nothing if your subject looks like a deer in the headlights. The real magic in a portrait happens in that invisible space between you and the person in front of your lens. It's a dance, a collaboration built on trust and clear communication. Your ability to guide someone toward a genuine moment is what elevates a snapshot into a powerful, lasting image.
This all starts the second they walk in the door. Before a single shutter clicks, just connect. Chat about their day, get excited about the concept together, and explain the vision. This small step transforms the dynamic from a formal, intimidating photoshoot into a shared creative project. When someone feels like a partner, not just a subject, they'll open up.
When they feel seen and comfortable, they're far more likely to give you the authentic emotion your concept demands.
Moving Beyond Static Poses
Telling someone to "look sad" or "act happy" is the fastest way to get a stiff, awkward expression. Those commands are vague and put people on the spot. Instead, you need to prompt actions and thoughts that trigger real feelings. The secret is to direct movements, not just poses.
Action-based prompts are simple but incredibly effective. Give your subject a small task or a specific memory to focus on.
Here are a few prompts I use all the time:
- For introspection: "Close your eyes and imagine the feeling of the sun on your skin on the first truly warm day of spring. Take a deep breath. When you're ready, slowly open them and look at me."
- For joy: "Tell me about a time you laughed so hard you couldn't breathe. What happened? Let yourself go back to that moment." (Then I get ready to shoot as they start smiling or laughing for real).
- For intensity: "I want you to walk slowly toward the camera. With each step, think about a challenge you overcame. Feel that strength and determination building."
These prompts give the mind something concrete to latch onto, and the body and expression naturally follow. This approach is a lifesaver when you're not working with professional models, like during family sessions. You can find more tips on creating a relaxed vibe in our guide on family portrait ideas for the studio, which leans heavily on these kinds of interactive techniques.
Your job isn't just to tell someone where to stand. It's to create an environment where they feel safe enough to be vulnerable. The best portraits are a gift, given by a subject who trusts you completely.
Guiding a Specific Mood
Your direction must always serve the core concept of the shoot. If your mood board is full of quiet, contemplative imagery, yelling "give me a huge laugh!" is going to miss the mark. Be upfront about the emotional tone you're aiming for before you even start shooting.
Music is one of my favorite tools for setting the scene. It’s an incredibly powerful shortcut to the right headspace. For a raw, intense portrait, I'll put on something atmospheric and cinematic. For a shoot centered on pure joy, an upbeat playlist can completely change the energy in the room.
Ultimately, great direction comes down to empathy. Pay attention to your subject’s body language, listen to what they're telling you (verbally and non-verbally), and be ready to pivot. When it feels like a true collaboration, the final images will be both artistically intentional and deeply authentic.
Using Post-Processing as a Creative Tool
The moment you press the shutter button isn't the end of your creative work—far from it. In many ways, it’s just the halfway point. Post-processing is where you take a great raw image and mold it into a final, powerful piece of art. This is your digital darkroom, and it’s where you truly define your signature style.
Think of it less as a technical chore for fixing mistakes and more as the last, essential brushstroke. Software like Adobe Lightroom and Photoshop are my go-to tools for breathing life into the story I envisioned on set.
Advanced Color Grading for Mood
Color is pure emotion. How you treat the tones, saturation, and brightness in a portrait can instantly change its feel from upbeat to melancholic, or from vintage to hyper-modern. This goes way beyond just bumping up the saturation slider.
I always experiment with these techniques to set the right mood:
- Split Toning: This is a fantastic way to create a cinematic or nostalgic feel. By adding a specific color to the highlights and a complementary one to the shadows (think teal and orange), you can build a really distinctive look.
- HSL/Color Panel: This is my control center for color. It lets me surgically target specific colors in the frame. I can shift the hue of a green background, desaturate a distracting blue, or boost the luminance of skin tones without touching anything else.
- Calibration Panel: For subtle but powerful global adjustments, the Calibration panel is a hidden gem. Tweaking the primary red, green, and blue channels here can create a beautiful, cohesive color harmony across the entire photograph.
Your editing should always serve the original concept. If you planned a dark, moody shoot, your post-processing should amplify that with desaturated colors and deep contrast. If the idea was light and airy, the edit needs to reflect that with bright tones and soft processing.
Sculpting with Light and Shadow
Dodging (selectively lightening) and burning (selectively darkening) are age-old darkroom techniques that are just as crucial today. They allow you to meticulously sculpt the light in your image, guiding the viewer's eye and adding incredible dimension.
This isn’t about just cranking up the overall contrast. I use these tools to make very specific, micro-level adjustments—enhancing the cheekbones, adding depth to the texture of a jacket, or subtly separating the subject from their background. By carefully painting in light and shadow, you can create a three-dimensional pop that makes the image feel alive.
Natural Skin Retouching with Frequency Separation
When it comes to creative portrait photography, my philosophy on retouching is to enhance, not erase. The goal is to make the subject look like the best version of themselves on their best day, not like a plastic doll.
Frequency separation is an advanced Photoshop technique that lets you do just that. It splits the image into two layers: one for skin texture (high frequencies) and another for color and tone (low frequencies). This is a game-changer because it means you can smooth out uneven skin tone and blotchiness without destroying the natural pore structure and texture.
The good news is that these workflows are getting quicker. The rise of AI editing tools is helping automate some of the more repetitive tasks, with many photographers reporting retouching time reductions of 30% to 60%. This efficiency boost lets us deliver finished galleries faster and stay competitive. You can dive deeper into how AI is impacting photography workflows to see where things are headed.
Building a Business from Your Creativity
Let’s be honest: turning your passion for creative portraiture into a career that actually pays the bills is the real challenge. Your incredible photos are the heart of it all, but a thriving business demands a solid plan, smart marketing, and a client experience that’s just as polished as your images.
It starts with your portfolio. Stop thinking of it as just a gallery of your favorite shots. Your portfolio is your most powerful salesperson, and it needs a clear message. If you want to shoot moody, cinematic portraits for bands, a portfolio full of bright, sunny family photos will only confuse potential clients. Your work needs to scream your style to attract the people who are looking for exactly that.
This same clarity has to carry over into your pricing. Ditch the simple hourly rate. Instead, create packages that spell out the value and guide clients to the option that’s right for them.
Crafting Compelling Client Packages
Well-designed packages do two things: they make it easy for clients to say "yes," and they bump up your average booking value. You're bundling your time, skills, and the final images into an offer they can't refuse.
Here’s a simple structure that works:
- The Base Package: This is your foot in the door. It should cover the essentials—a shorter session and a handful of digital files. It’s approachable and gets them in your ecosystem.
- The Mid-Tier Package: This should be your sweet spot, the one you want most clients to pick. Offer more time, a more generous set of images, and maybe a small print credit to introduce them to physical products.
- The Premium Package: This is the "everything included" experience. We're talking an extended session, the complete digital gallery, and a substantial credit for a beautiful album or wall art. Position this as the ultimate creative collaboration.
The secret to making more money isn't just about booking more shoots; it's about getting more value from every single session. A great client experience is where that happens, often boosting your revenue without much extra cost.
Streamlining Your Workflow and Client Experience
A smooth, professional process is what turns a one-time client into a fan who refers you to everyone they know. Every interaction, from their first email to the final photo delivery, should feel effortless and organized. This is where a good client management system becomes your best friend.
Getting your workflow sorted out is non-negotiable if you want to avoid burnout. Using an efficient tab booking system guide is a game-changer for handling inquiries, scheduling, and sending automated reminders, which gives you more time to actually be creative.
Don’t underestimate the power of a personal touch after the shoot, either. Industry data shows that photographers who offer services like in-person viewing and ordering appointments can increase their revenue by up to 20%. These findings from the State of the Photography Industry report prove that a high-touch approach really works. It reinforces the value of what you do and makes the entire experience unforgettable.
Frequently Asked Questions
When you're first dipping your toes into creative portraiture, a lot of questions pop up. I get it. Here are some quick, no-fluff answers to the things photographers ask me most often.
What’s the Best Gear to Get Started?
Honestly, you don't need a top-of-the-line setup. The camera you already have is probably fine, as long as it lets you shoot in manual mode. That control is what really matters.
If you’re going to invest in one thing, make it a good prime lens. A 50mm or 85mm lens is a game-changer. Their wide apertures give you that beautifully blurred background and tack-sharp focus on your subject.
For lighting, don't feel pressured to buy expensive strobes right away. I’ve created some of my favorite images with just a simple reflector to bounce light and a single off-camera flash. You can do a lot with a little.
How Do I Find People to Photograph?
This is a classic hurdle. Start small and build your confidence by asking friends or family—anyone who feels natural in front of a camera. It's a low-pressure way to build a portfolio.
Once you have a few shots to show, social media is your best friend. I've found great collaborators on Instagram by searching local hashtags like #yourcitymodel. You’ll find plenty of aspiring models who are eager to work on creative projects to build their own books. Another great spot? Local photography groups on Facebook. They're full of people actively looking for TFP (Trade for Print) shoots.
Creative portrait photography isn't just about taking a picture of someone. It's about creating a piece of art with them. The person is part of a larger story.
What Really Separates a Creative Portrait from a Standard One?
Think of it this way: a standard portrait is all about clear, flattering documentation. It's the classic headshot you'd see on a LinkedIn profile. The goal is to show what a person looks like.
Creative portraiture, on the other hand, is about storytelling. It uses deliberate concepts, imaginative lighting, and thought-out compositions to create a mood or express an idea. The focus shifts from just a likeness to an emotion or a narrative.
Tired of managing your bookings through DMs and a messy spreadsheet? Kejoola sets you up with a polished, professional website that takes bookings for you. Check out how our all-in-one platform can get your business organized at https://kejoola.com.